I recommend products that I used for this project and so this post contains affiliate links. As an Amazon Associate I earn from qualifying purchases.
Alright, so this is my first solo project. In my new room, which you’ll see posts to come about small spaces and organization, I have a lot of wall space. Wall space that needs either decor or function. My first step was the wall behind and beside my desk. I want it to have function, as well as a nice look, and so to start – I’m making wall shelves.
Making wall shelves is a great first diy project for me because it requires very little effort or skill. In fact, saying I made it seems like a stretch. I didn’t make the brackets, I didn’t make the wood, I didn’t make the magnetic strip that I added to my shelves to make them more functional. But I did make the wood the right size, stain it the color I wanted, affixed the brackets to the wall, and put the cute stuff on them so my desk area is inviting and cozy.
So I guess the first thing is to get the brackets and wood. To use the same brackets that I did, which ended up being the perfect size for this project, you can buy them on Amazon by following this link for shelf brackets.
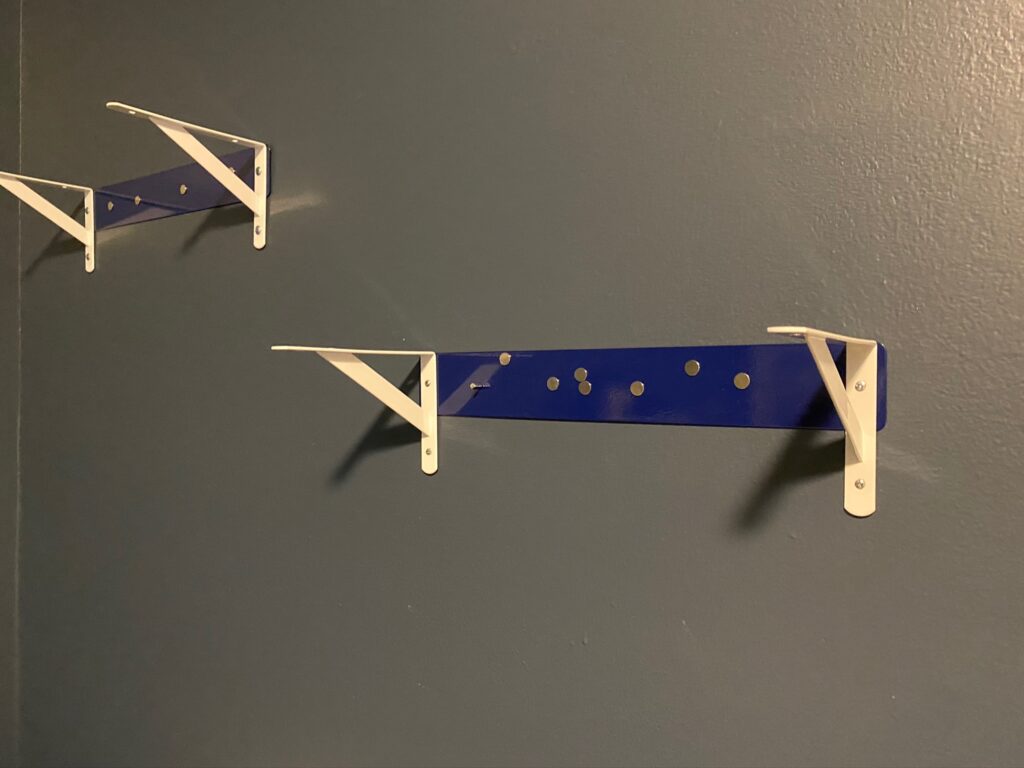
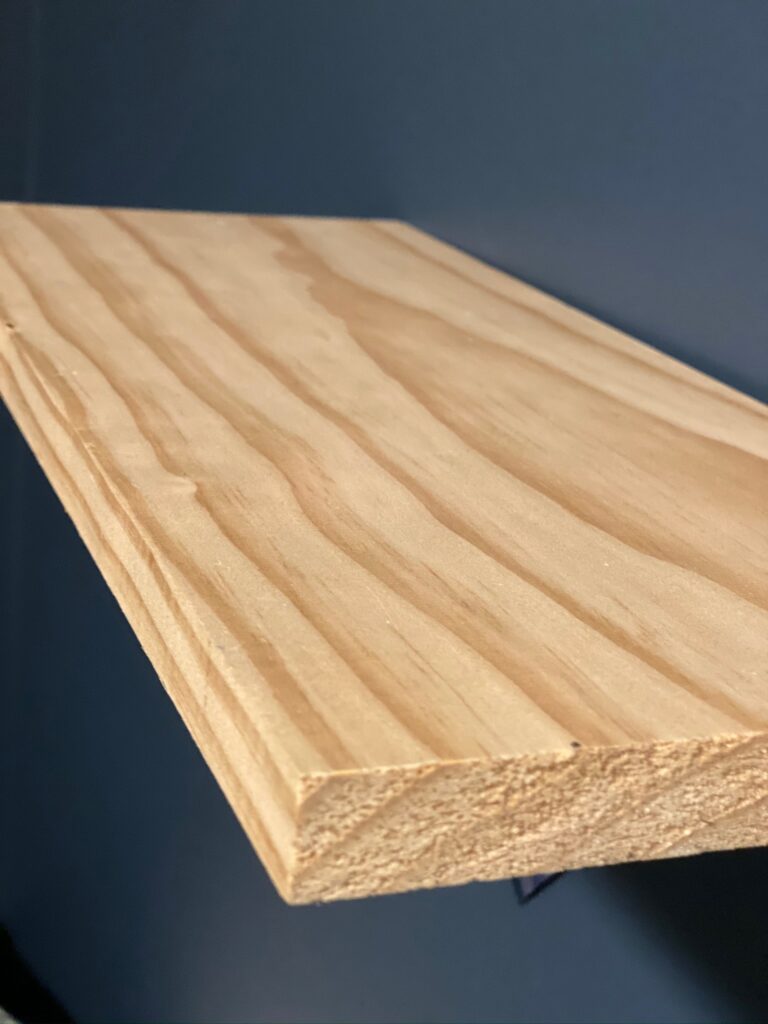
The wood can be purchased from any store that sells wood. I chose to get Select Pine for my shelves, as it has a nicer look with fewer knots and is usually in better condition at the store. It tends to be a little more expensive but worth it. To make more than the two I needed for this project, I only needed to buy 1 board that was 1″x 8″ and the length was long enough but if you have the option to get only the size you need then the length should be around 35″ to allow for a slight error.
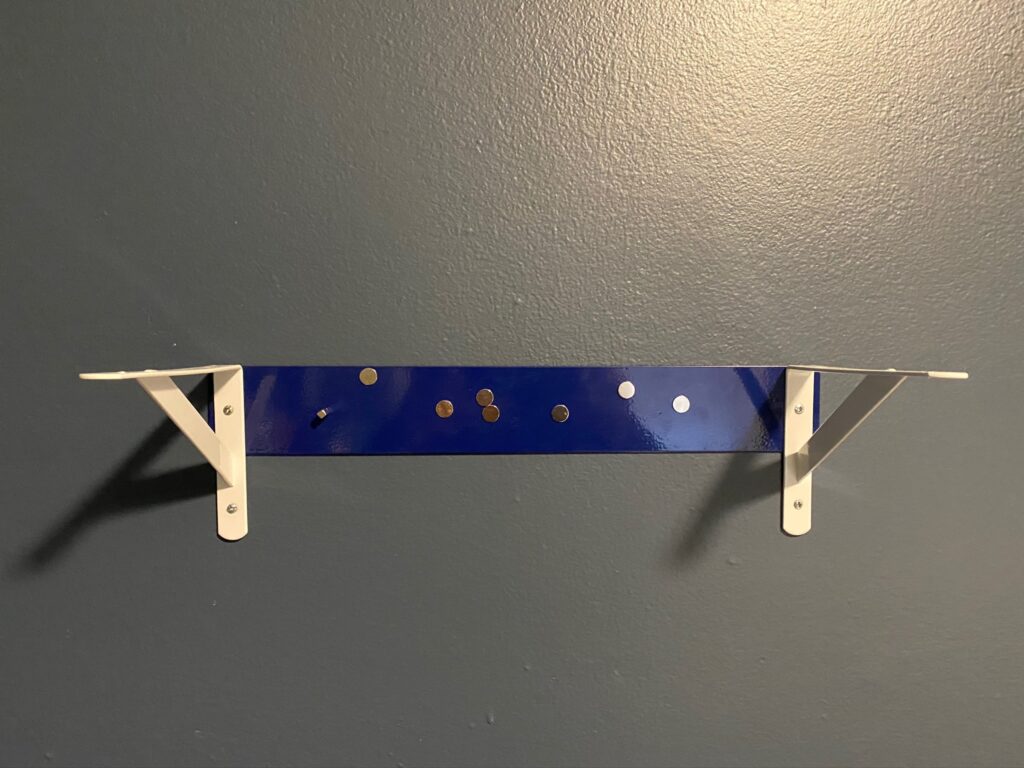
For the extra function of these shelves, I had purchased from an organizational store magnetic wall strips. I found them online for cheaper, so you can click on this magnetic wall strips link to get them if you would also like the added function to your shelves. I have had mine for longer than my walls were this color and so I wanted them to be functional yet somewhat hidden. Under the shelves ended up being the perfect spot.
Now that all of the purchases are made, here is the part that requires a little bit of effort. When I say a little bit of effort, I mean exactly that! All I needed to do was cut the board. I measured 16 1/2 inches (twice) and used a saw to make the cut (once) for each shelf. (Measure twice and cut once.) I made them this length because of the magnetic wall strip, so if you are opting not to have that option, the shelf can be the size you want it to be.
Keep in mind that these are small brackets for small shelves and so if you intend on having large shelves or heavy things sitting on the shelves, you will want to alter the size of the brackets and boards. Also, if you want bigger shelves you will want to make sure the brackets are screwed into studs so that they can hold the weight you want them to.
For these small shelves, there is no need to find a stud – though I am still single and ALWAYS looking for a stud! Seems like an unnecessary dad joke…
Back on task – I used drywall anchors and then screws to attach the brackets to the walls. I did this using the magnetic wall strip so that I could get the right distance for the holes and also so that I could make sure it was level using that magnetic wall strip. Two birds. Mark the spots on the wall, drill holes, hammer in the anchors and then screw in the brackets on the magnetic wall strip.
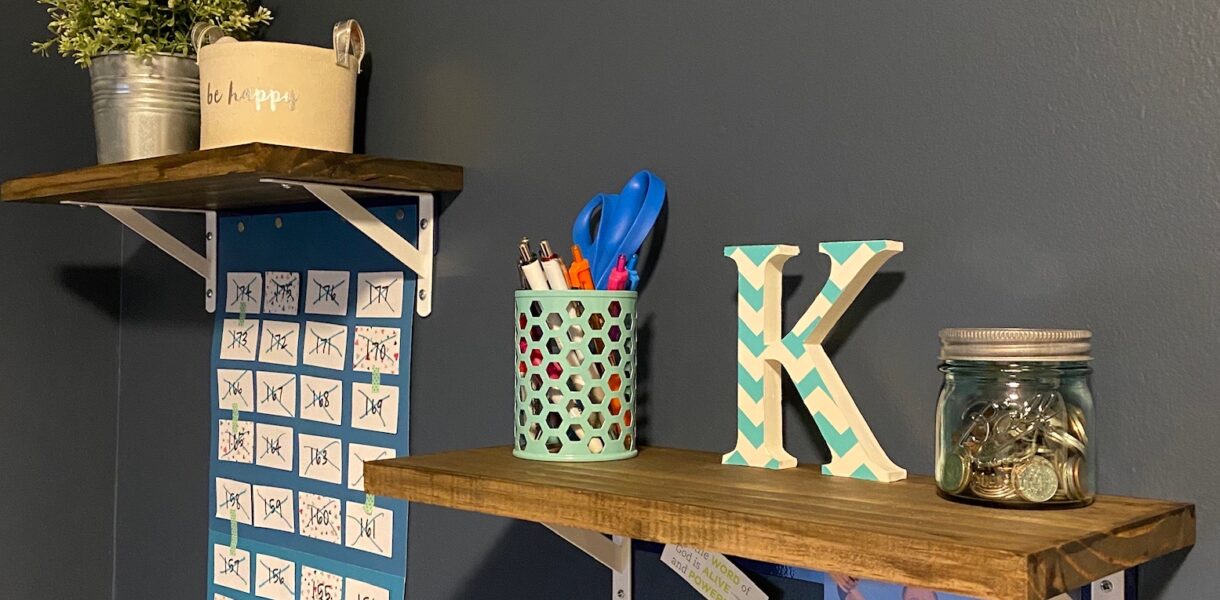
The last step is stain. I think the original color of the pine is quite nice and would only require a painted on coat of polyurethane to protect the wood. However nice I think the original pine looks, my favorite is to stain the wood a dark Espresso stain. I used Minwax Espresso Stain to get a nice and rich color. The one I used has the polyurethane already in it, so you can stain and protect in just one step. You can use whatever stain or paint you prefer. **amelioratekate tip: be careful to make sure your paint or stain doesn’t have drips – mine has many. You can turn it around or flip it over to make those imperfections less noticeable.**


This super basic project made such an impact on my room and I am so pleased with the outcome. I hope yours turns out nicely too.

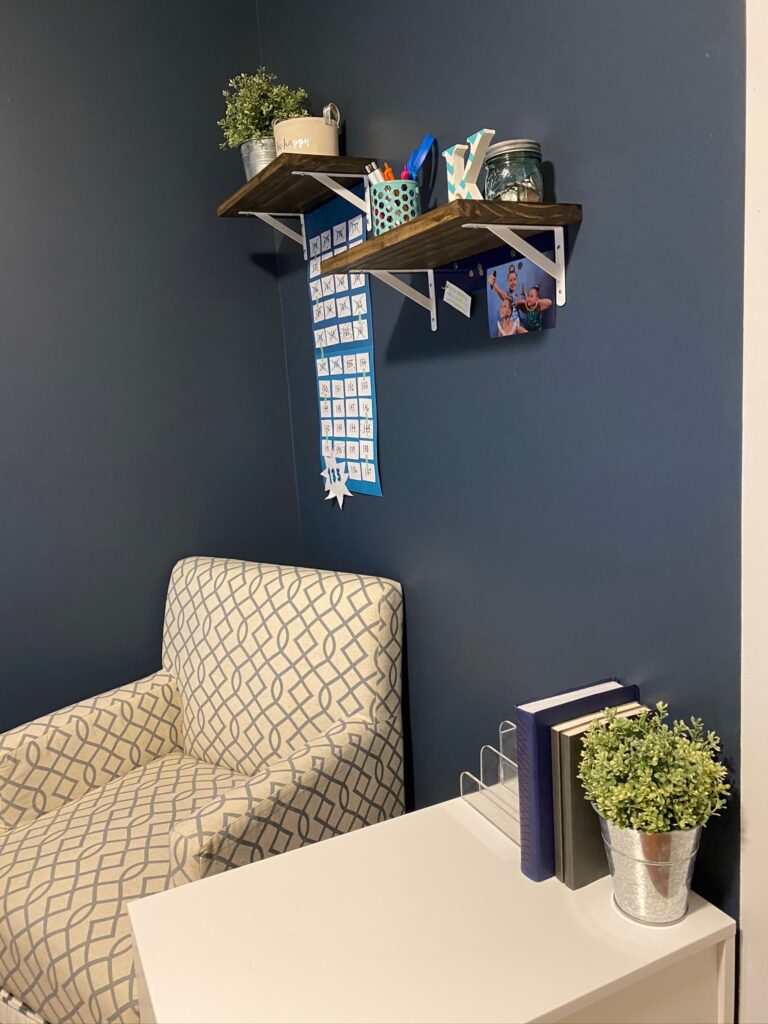
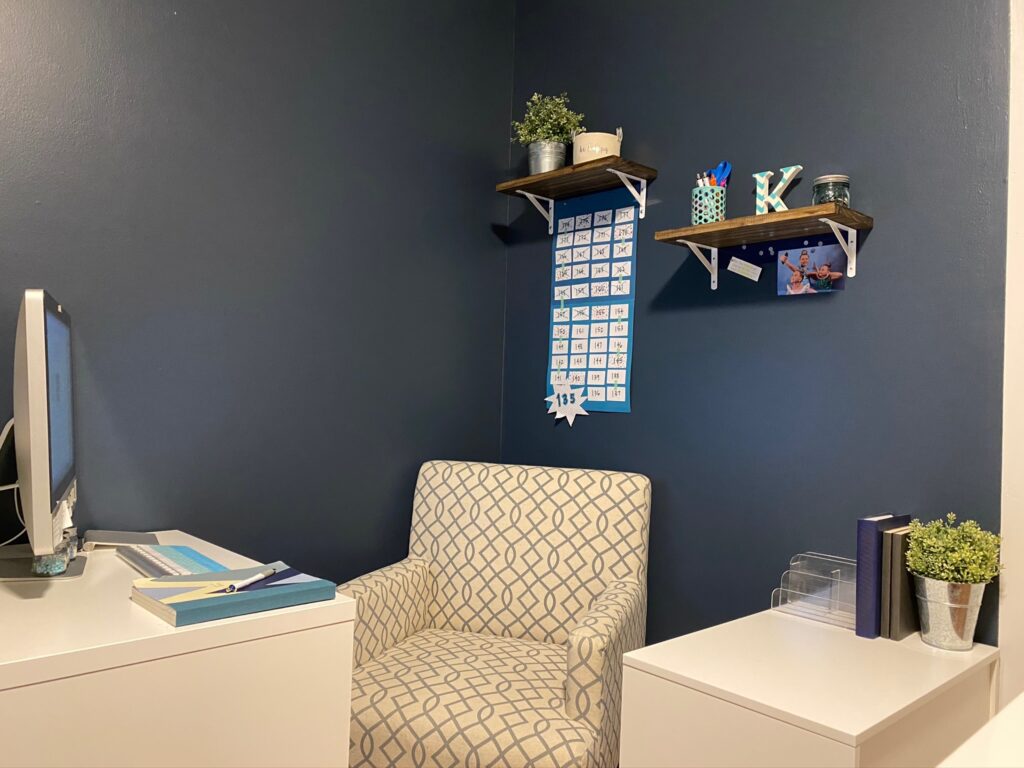
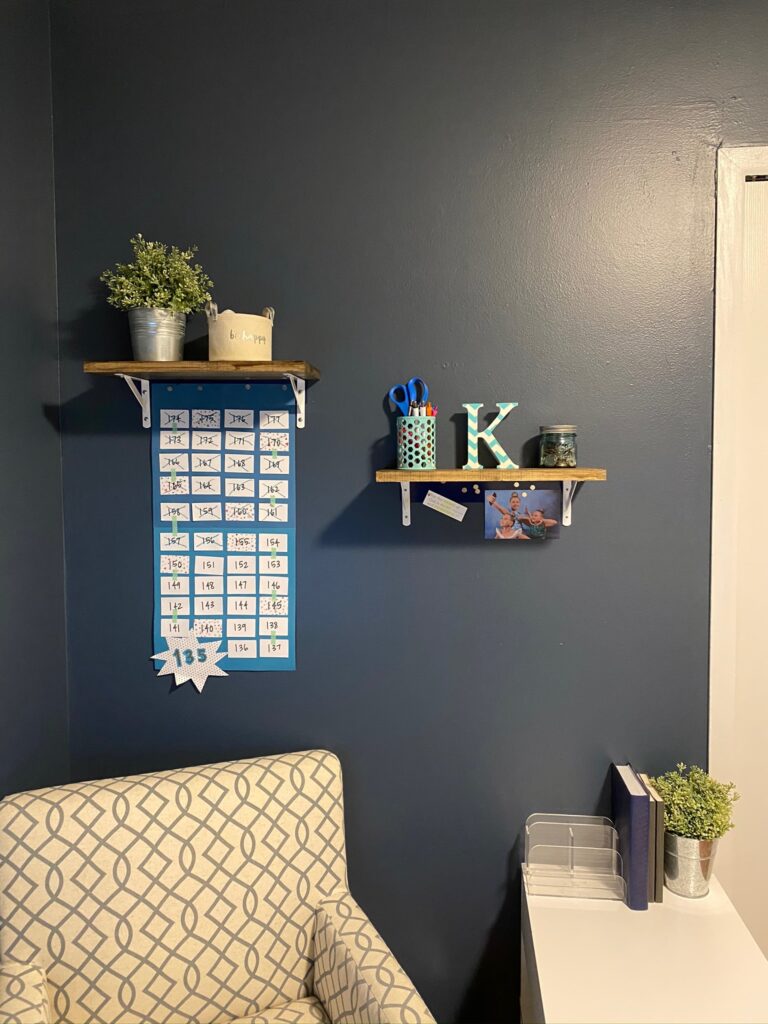
It looks amazing! I like the simplicity of it and can’t wait to do it in my daughter’s room. Thank you!